
I have to apologise in advance for this post being so picture-heavy. Although I've only had my Konad stamping set for a little while and am still a beginner, recently I've been asked some questions about Konading so I decided to do a sort of tutorial here. If you already know how to Konad, or just aren't interested, feel free to skip ahead to my NOTD :-)
For those of you who are still with me, here's what I used today: nail polish, nail polish remover, cotton wool pad, Konad stamper, Konad scraper and Konad image plate m3.
 I used a lilac polish (Polish brand: milo) as a base and Konad special white polish and a darker purple (brand: lovely) for stamping.
 Step 1: Paint your nails with a clear base coat. Wait for them to dry.
Step 2: Paint your nails with your base colour. Wait for them to dry. Repeat as necessary.
Step 3: Apply your stamping colour (for beginners I really would recommend starting out with a Konad special polish) to your chosen image
 Step 4: Use the scraper to scrape away and remove the excess polish from your image so that the polish "sinks" into the engraved image
 Step 5: Press the stamper onto the image
 Step 6: Remove stamper from the image plate so that the image transfers onto the stamper. Don't worry if there is excess polish on the stamper; this can be removed with cotton wool and nail polish remover.
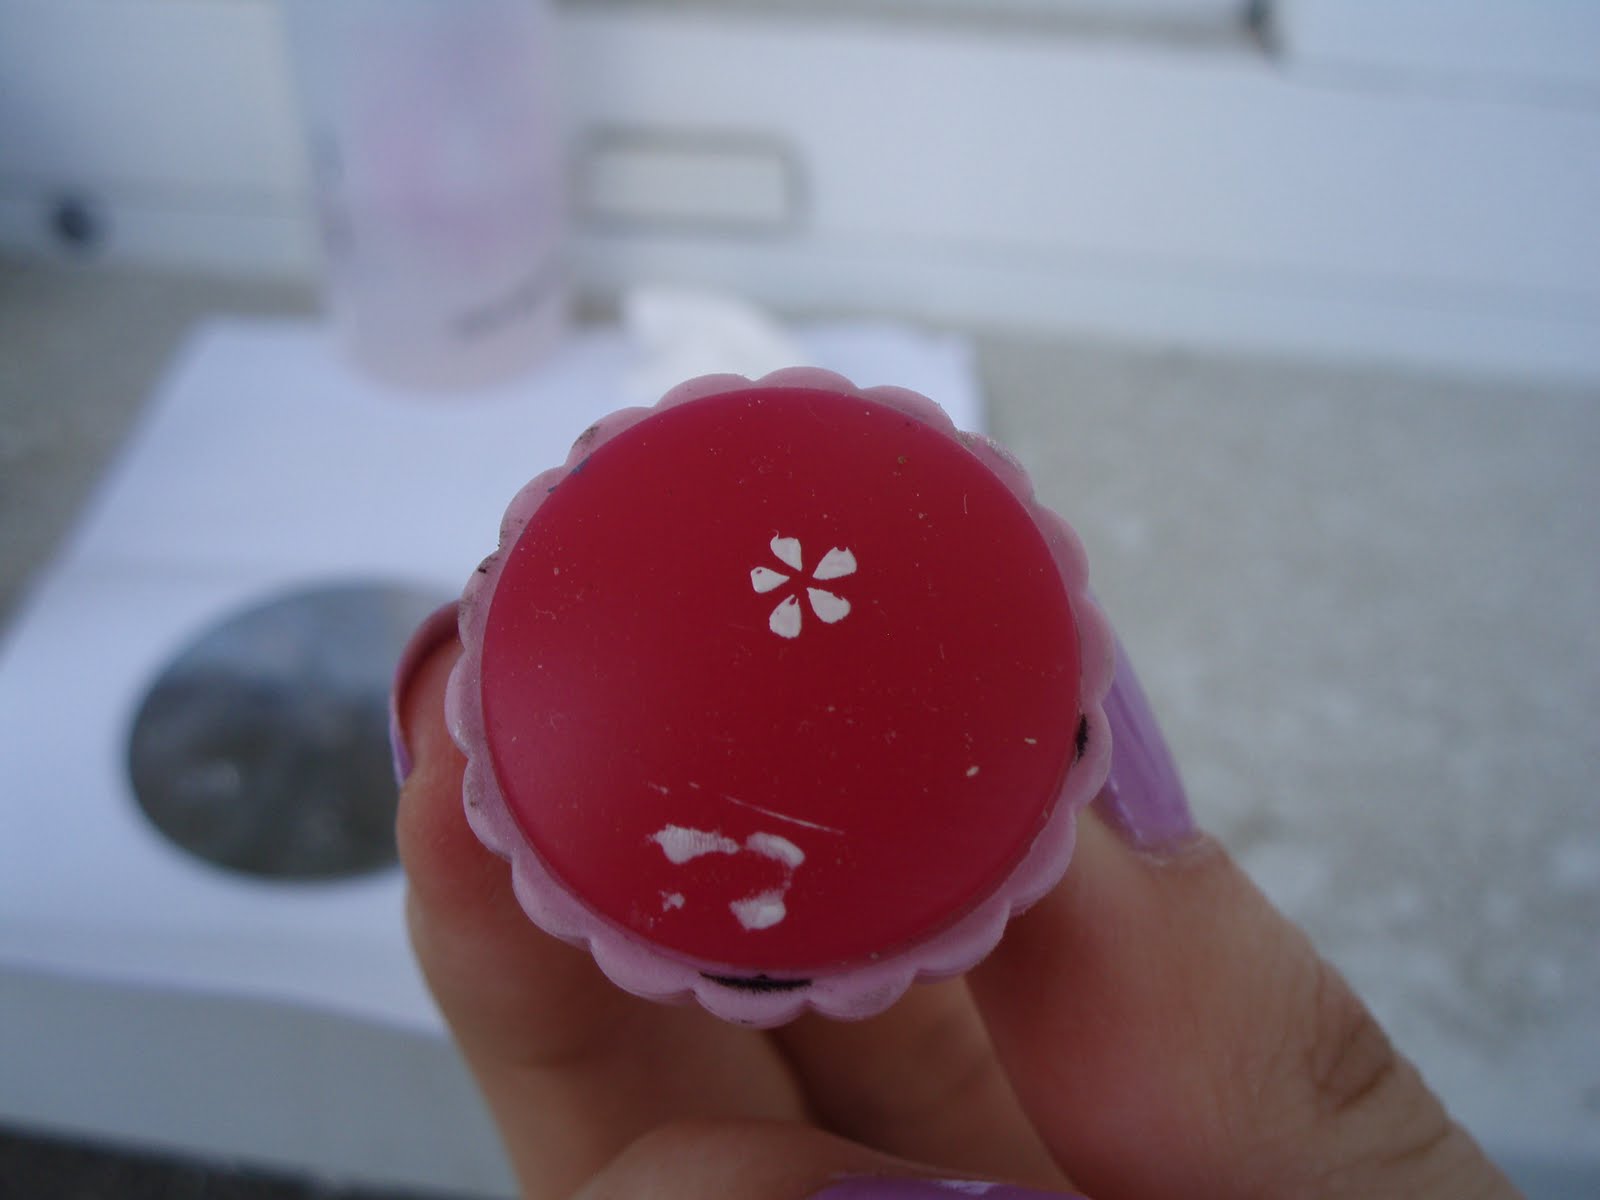 Step 7: (sorry no picture here as I needed both hands) press the stamper onto your nail and roll it so that the image transfers onto your nail. Allow time to dry.
 Step 8: Using cotton wool and nail polish remover, remove the polish from the image plate and stamper (if there's any left there) and repeat previous steps until nails are decorated as desired.
 The key is to work quickly so that the polish doesn't have time to dry into the engraved image on the image plate. If the polish dries, it won't transfer onto the stamper. This is why I recommend starting out with Konad special polish; these polishes are designed specifically for this purpose and are thicker meaning they take longer to dry.
Another important thing to remember is that you need to remove the polish from the image plate after every single use so that the polish has enough depth to sink into.
Oh and don't worry about making mistakes- imperfections can make designs more interesting and unique!
I think I've covered everything and I hope that was helpful. Here are the results of my Konading session today:

 After stamping all my nails once with a white flower, I then added a purple flower


 What do you think? My photos don't capture the flowers well but I have to say, I love this manicure. I think tomorrow, or this evening after work, I might add more flowers to each nail but for now I'm happy with just two :-)
 Bye for now,
Laura
Great tutorial. :)
ReplyDeleteSusie
Thanks! This is an awesome tutorial and it really doesn't look as hard as I thought it would be. :)
ReplyDelete